While do-it-yourself projects can be fun and fulfilling, there is always a potential for personal injury or property damage. We strongly suggest that any project beyond your abilities be left to licensed professionals such as electricians, plumbers, and carpenters. Any action you take upon the information on this website is strictly at your own risk, and we assume no responsibility or liability for the contents of this article.
How to Stain a Fence
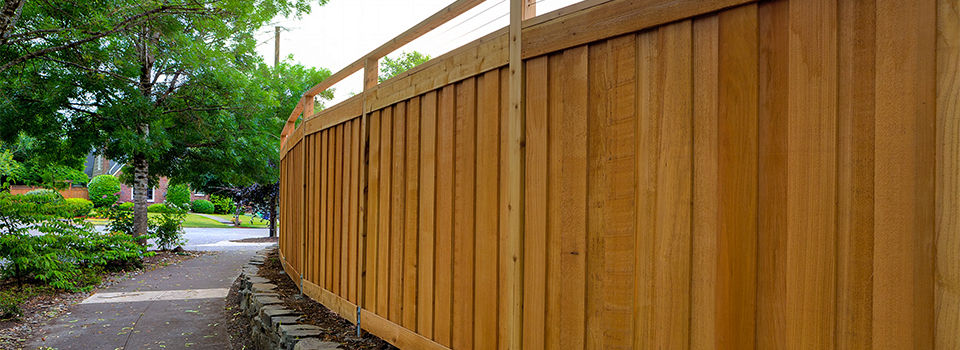
Making your wooden fence look beautiful again is easy with the right preparation and stain. With a little elbow grease, maybe a friend or two, you can complete this project in no time.
1. Strip the Fence

If your fence was previously stained, finished, or chipping, apply a wood stripper according to the manufacturer’s instructions. Use a stiff-bristle brush to scrub away at the finish. Rinse off the fence and excess finish with a garden hose. Get as much of the finish off as possible, especially if you're planning on using a transparent or semi-transparent stain. You don't want any previous stain showing through your new stain.
2. Clean the Surface
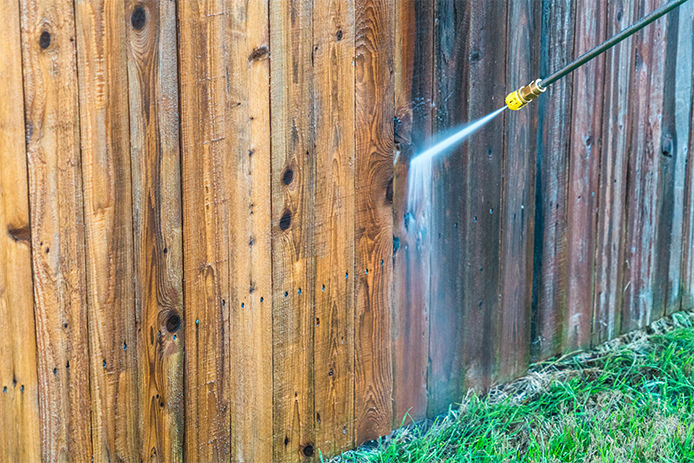
Using a power washer and soap, power wash your fence. Scrub away any stuck on dirt. Wait till the wood is fully dry, this can take up to a week or more, especially if rain is in the forecast. Moisture in the wood must be under 12%, invest in a moisture meter to be sure the wood is dry enough before applying stain.
Tip: If mold or mildew is spotted use a bleach and water solution, spray it on the affected areas, let sit for a few minutes then rinse with a garden hose or pressure washer.
3. Repair Damaged Areas
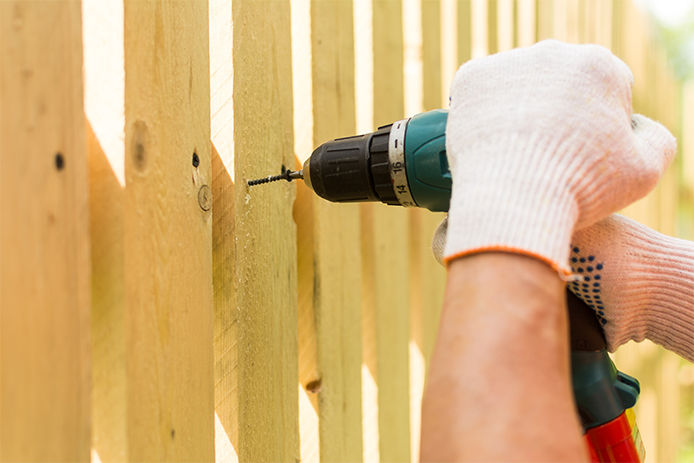
Replace any damaged panels, and use wood putty for any chips or dents. Allow the wood putty to dry and sand lightly.
4. Protect the Surrounding Area

Tape any areas you don’t want stain to get on, as well as laying a tarp or drop cloth on the ground to protect grass and shrubs.
5. Time to Stain
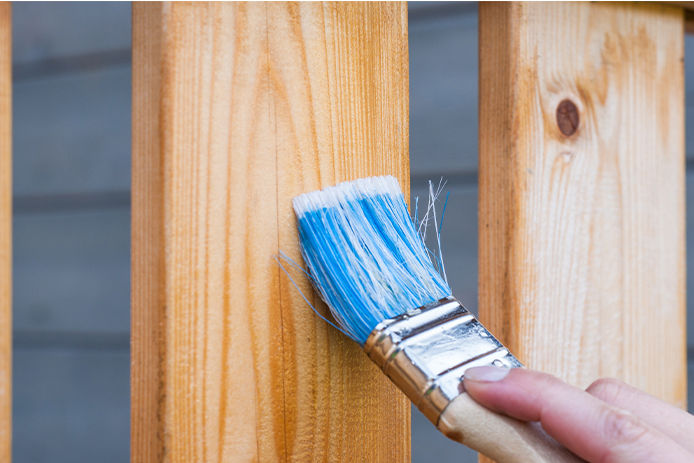
Now that you’ve got your fence ready to stain, grab your paint brush, roller, or sprayer to get started. Natural-bristle brushes are the best option for oil-based stains, work from top to bottom. If you’d rather use a roller opt for a 3/8” nap roller and apply stain in two– to three-foot sections. Back-brush the stained area before moving onto the next section. Using a sprayer is similar to using a roller except you’ll want to stand back a good distance from the fence and work in small sections, back-brushing before moving on.
6. Let the Stain Dry
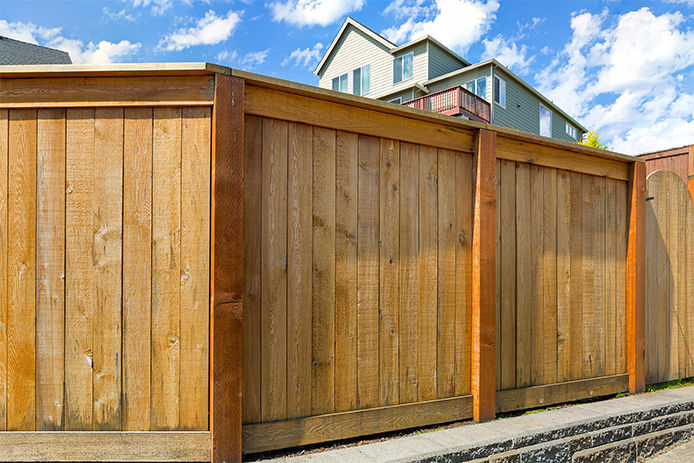
Follow the manufacturer’s directions for dry time. Apply additional coats if needed. Most stains have a sealant mixed in with the stain, but if it doesn’t, apply a durable sealant to prolong the life of your stain. Apply the sealant the same way you applied the stain.
Now that you’ve successfully stained your fence, sit back and enjoy the rest of your summer and next few summers off. Head into your local Do it Best store to pick up everything you need to complete this project.